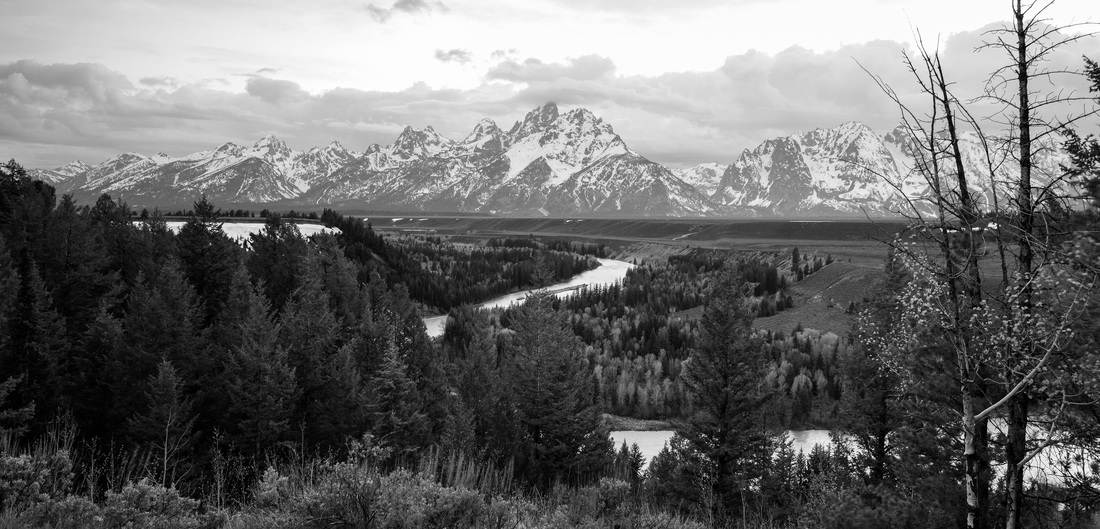
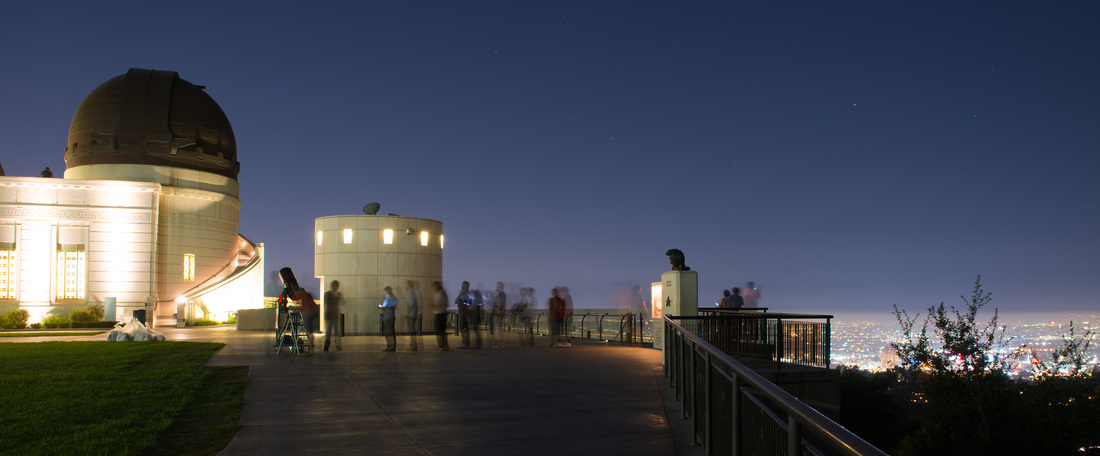
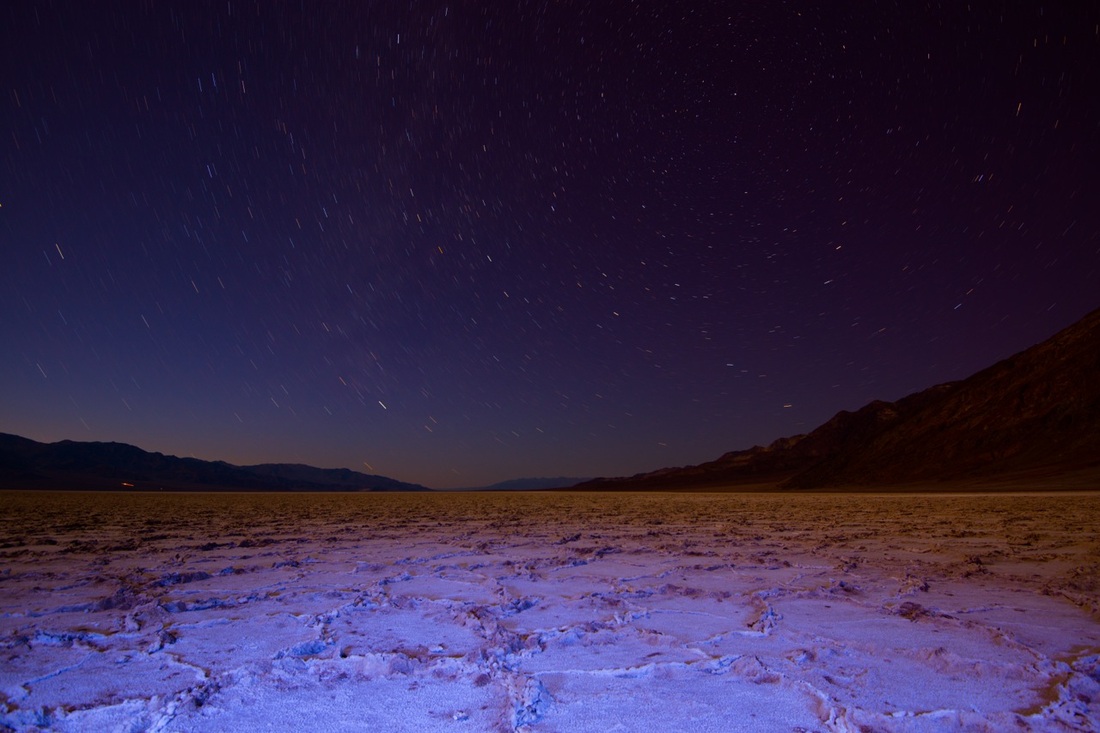
If you want a masterpiece, copy the masterpiece. Well, not exactly. Today on internet you can find anything. There are a lot of famous photographs that you can mimic. For example, Ansel Adams' "Snake River". This is the same angle Ansel Adams discovered many years ago. You can find information on the internet where a picture was taken many times. Now, all you have to do is to buy a plane ticket, go there and take the same shot. With today's technology, you can mimic the masterpiece without too much effort. Of course, it won't be original. But, it would look good in your living room and can impress your friends who don't know many famous photos. (Nikon D800E, Nikkor 16-35mm F4 at 26mm, 1 sec, f/9 with tripod, ISO=200, Graduated filter to darken the sky)
0 Comments
Wide angle lenses are fun. This was taken with my 16-35 mm Nikkor lens at 16 mm. A wide angle make the picture being sucked in the middle. If you have a great cloud scape, it makes it dramatic. It keeps your eyes in the middle of the picture and that's what you want. Longer you can make people look at your picture, better the composition.
Anyone can take this pic. This was taken at the Great Prismatic Spring at Yellowstone NP. It is accessible by a car. No hiking required. It's very close to the infamous Old Faithful Geyser on the west side of the park. (Nikon D800E, Nikkor 16-35 mm at 16 mm, f/11, 1/500 sec, ISO = 200, handheld) When the sun sets, it's time to pack and go back to your hotel/tent/cabin? No, it's time to shoot more. Star trail photography is easy. For this pic, I set my camera at 30 sec exposure and f/2.8. Yes, you should set everything manual. I manual-focused a little shy of infinity. You have to play with ISO to find the best exposure with the setting. Once you are satisfied with the exposure (make sure to check the actual picture and histogram), then you can start the time lapse procedure. First you need to turn off the slow shutter noise reduction so that there is no time lag. Then, set the shutter to the continuous mode. Then finally, shoot with a shutter release cable locked. Because it's locked and set continuous, the shutter automatically releases every 30 seconds. For this pic, I shot 5 continuous 30 second shot.
Now glue all those pics in Photoshop. Open all the pics in layers and combine with "lighter" setting. (D800E, Nikkor 70-200 f/2.8 at 70mm, 30 sec, ISO = 400) Every picture you see in the internet on Mormon Row in Grand Teton National Park is from the left side so that the old cabin lines up with the Grand Teton (the tallest of the Tetons). Just to make it little different from all the other pictures, I took this shot from the right side. Off course, I lose most of the Tetons but there was a nice cloud scape to fill the left upper corner of the picture. The Tetons are on the west side of the park so that all the good lighting is in the morning. This one however was taken during the sunset with a graduated filter. Because I was facing more south (taking the pic from the right side), I was not directly facing the sun. (Nikon D800E, Nikkor 16-35mm at 17 mm, f/11, 1/50, ISO = 200, WB = auto, Taken JPEG, handheld with graduated filter)
Good shots can be hard-to-get shots. Only those who worked for it deserve the shot. So many things other than right equipment and technique are needed to get this one shot. Here are some things that are needed to get this panoramic shot:
1) Plane ticket, rental car, lift ticket: Why some photographs are so expensive? Well, a lot of times there are a lot of money spent by a photographer to get to the place. Some photographers camp out for days to get that one awesome shot. You can have the best camera and lens, but you have to get there to take the great shot. 2) You just have to get there: I took this shot at the highest peak of the Canyons in Park City. There is multiple transfers of the ski lifts to get there. This particular lift takes you to the peak of the mountain where only expert skiers are allowed to go. The only way down is "black diamond" (expert) slopes. Not only you need good skills for photography, but you also need to be an expert in skiing to get this shot. 3) Sacrificing safety: I don't recommend this, but some good views come with risks. Sometimes safety has to be sacrificed to get that great view. Here, I'm on a steep slope on the edge of a cliff. One wrong step....I done. Warning: when you look into the viewfinder, you lose your balance sense. Make sure that you have a safe stance before you look into the viewfinder. 4) Weather sealed equipment: Some equipments are not weather sealed. You need a weather sealed equipment in harsh environment. Extreme high/low temperature, rain, mist, dust are things that can ruin your camera/lens. Make sure to have weather sealed stuff in these situations. 5) Luck: Especially when you try to take a shot at hard-to-reach places, you don't get to be there too often or too long. A lot of professional photographers camp at places for a long time so that they can be there at a right moment, but for us, we have to rely on luck to have good weather and lighting. Some things can be controlled but some things can't be controlled. Do your homework, pick the best time to visit the "hard-to-get" places. (Sony A7, Zeiss Sonnar FE 1,8/55 ZA, ISO = 100, 1/500, f/9) When you are in L.A., take a free trip to Griffith observatory. The view is stunning. Bring your tripod and be ready to take a shot with long exposure. Here I set the ISO really low to minimize noise so the exposure was super long. That made those people waiting for the telescope show some motion. I did not forget to capture the city nightscape on the background. (Nikon D800E, Nikkor 24-70mm f/2.8 at 24mm. f/8 for 25 sec. ISO = 200 with tripod)
Got this shot at Bad Water, Death Valley. From the parking lot just off the highway, it's about 10 minute walk toward the salt plane in pitch dark. The moon light and flashlight are the only help to find a way (Don't forget your flash light fully charged!). Looking north to get this circular star trails with 10-minute exposure. Alternatively, you can combine multiple 30 sec exposures on Photoshop, but the air in Death Valley is so clean that the longer exposure is possible without getting too much noise.
In the foreground, I used the flashlight to "paint" the hexagonal salt, crystal-like pattern on the ground. You have to find a right setup with the manual mode. Because it's dark, the camera won't focus with the auto-focus. You can use your flashlight to manually focus your camera to about 1/3 from the bottom of the picture. You really need to play with ISO and aperture. I like around 400-800 on ISO and 4-8 on aperture. I broke my lens protector filter, dropping my camera in the dark, but this was worth it. I wish I did longer exposure for trails of the stars. (Nikon D800E, Nikkor 16-35 mm, ISO=400, RAW, 10 minute exposure, foreground artificially painted with a flashlight, tripod, f/4) I took this at Death Valley. I was about to leave the dunes and I saw few kids with the dress. It looks like I took this picture in 1950's. Conveniently, I had my 70-200mm on my D800E to capture this shot, compressing near and far in one plane. Don't go there in summer. This was in February and already 80 degrees. (Nikon D800E, Nikkor 70-200mm 1:2.8 at 200mm, handheld, took in JPEG Landscape mode)
In Central Texas, we don't get too much fall colors. When I do I need to capitalize it. I need to find a spot where that little color pops out. This tree stands out because all the other trees and background are not red. (Nikon D800E, Nikkor 70-200mm at 80mm, 1/80, ISO = 250, F/13)
A leading path is a classic photography technique that a lot of landscape photography take advantage of. The path in the picture lead your eyes deeply into the picture. This is a cart path on a golf course. From where I took picture to the green is about 200 yards. To compress the distance, I used a zoom lens. I still wanted bokeh both in foreground and background to soften the image. (Nikon D800E, Nikkor 70-200mm 1:2.8 at 200mm, f/3.2, 1/200, ISO = 200)
|
Archive
November 2016
Categories
All
|